Culture
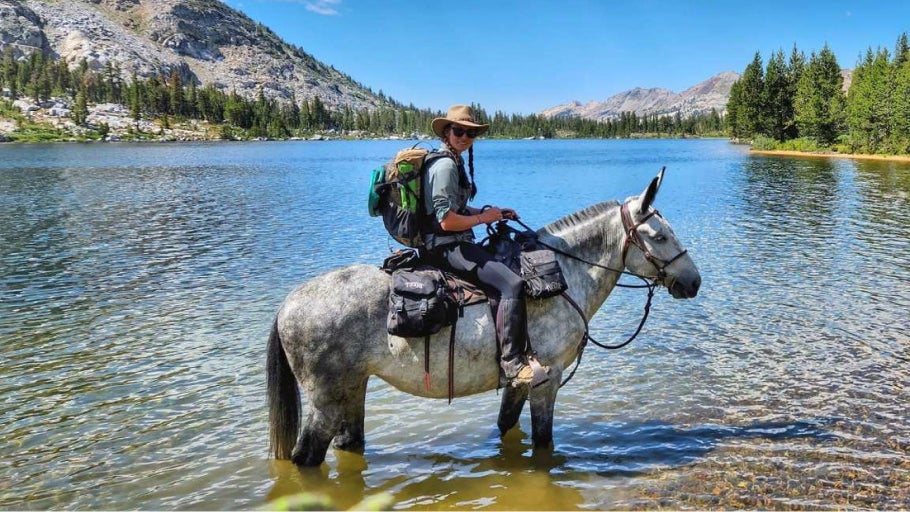
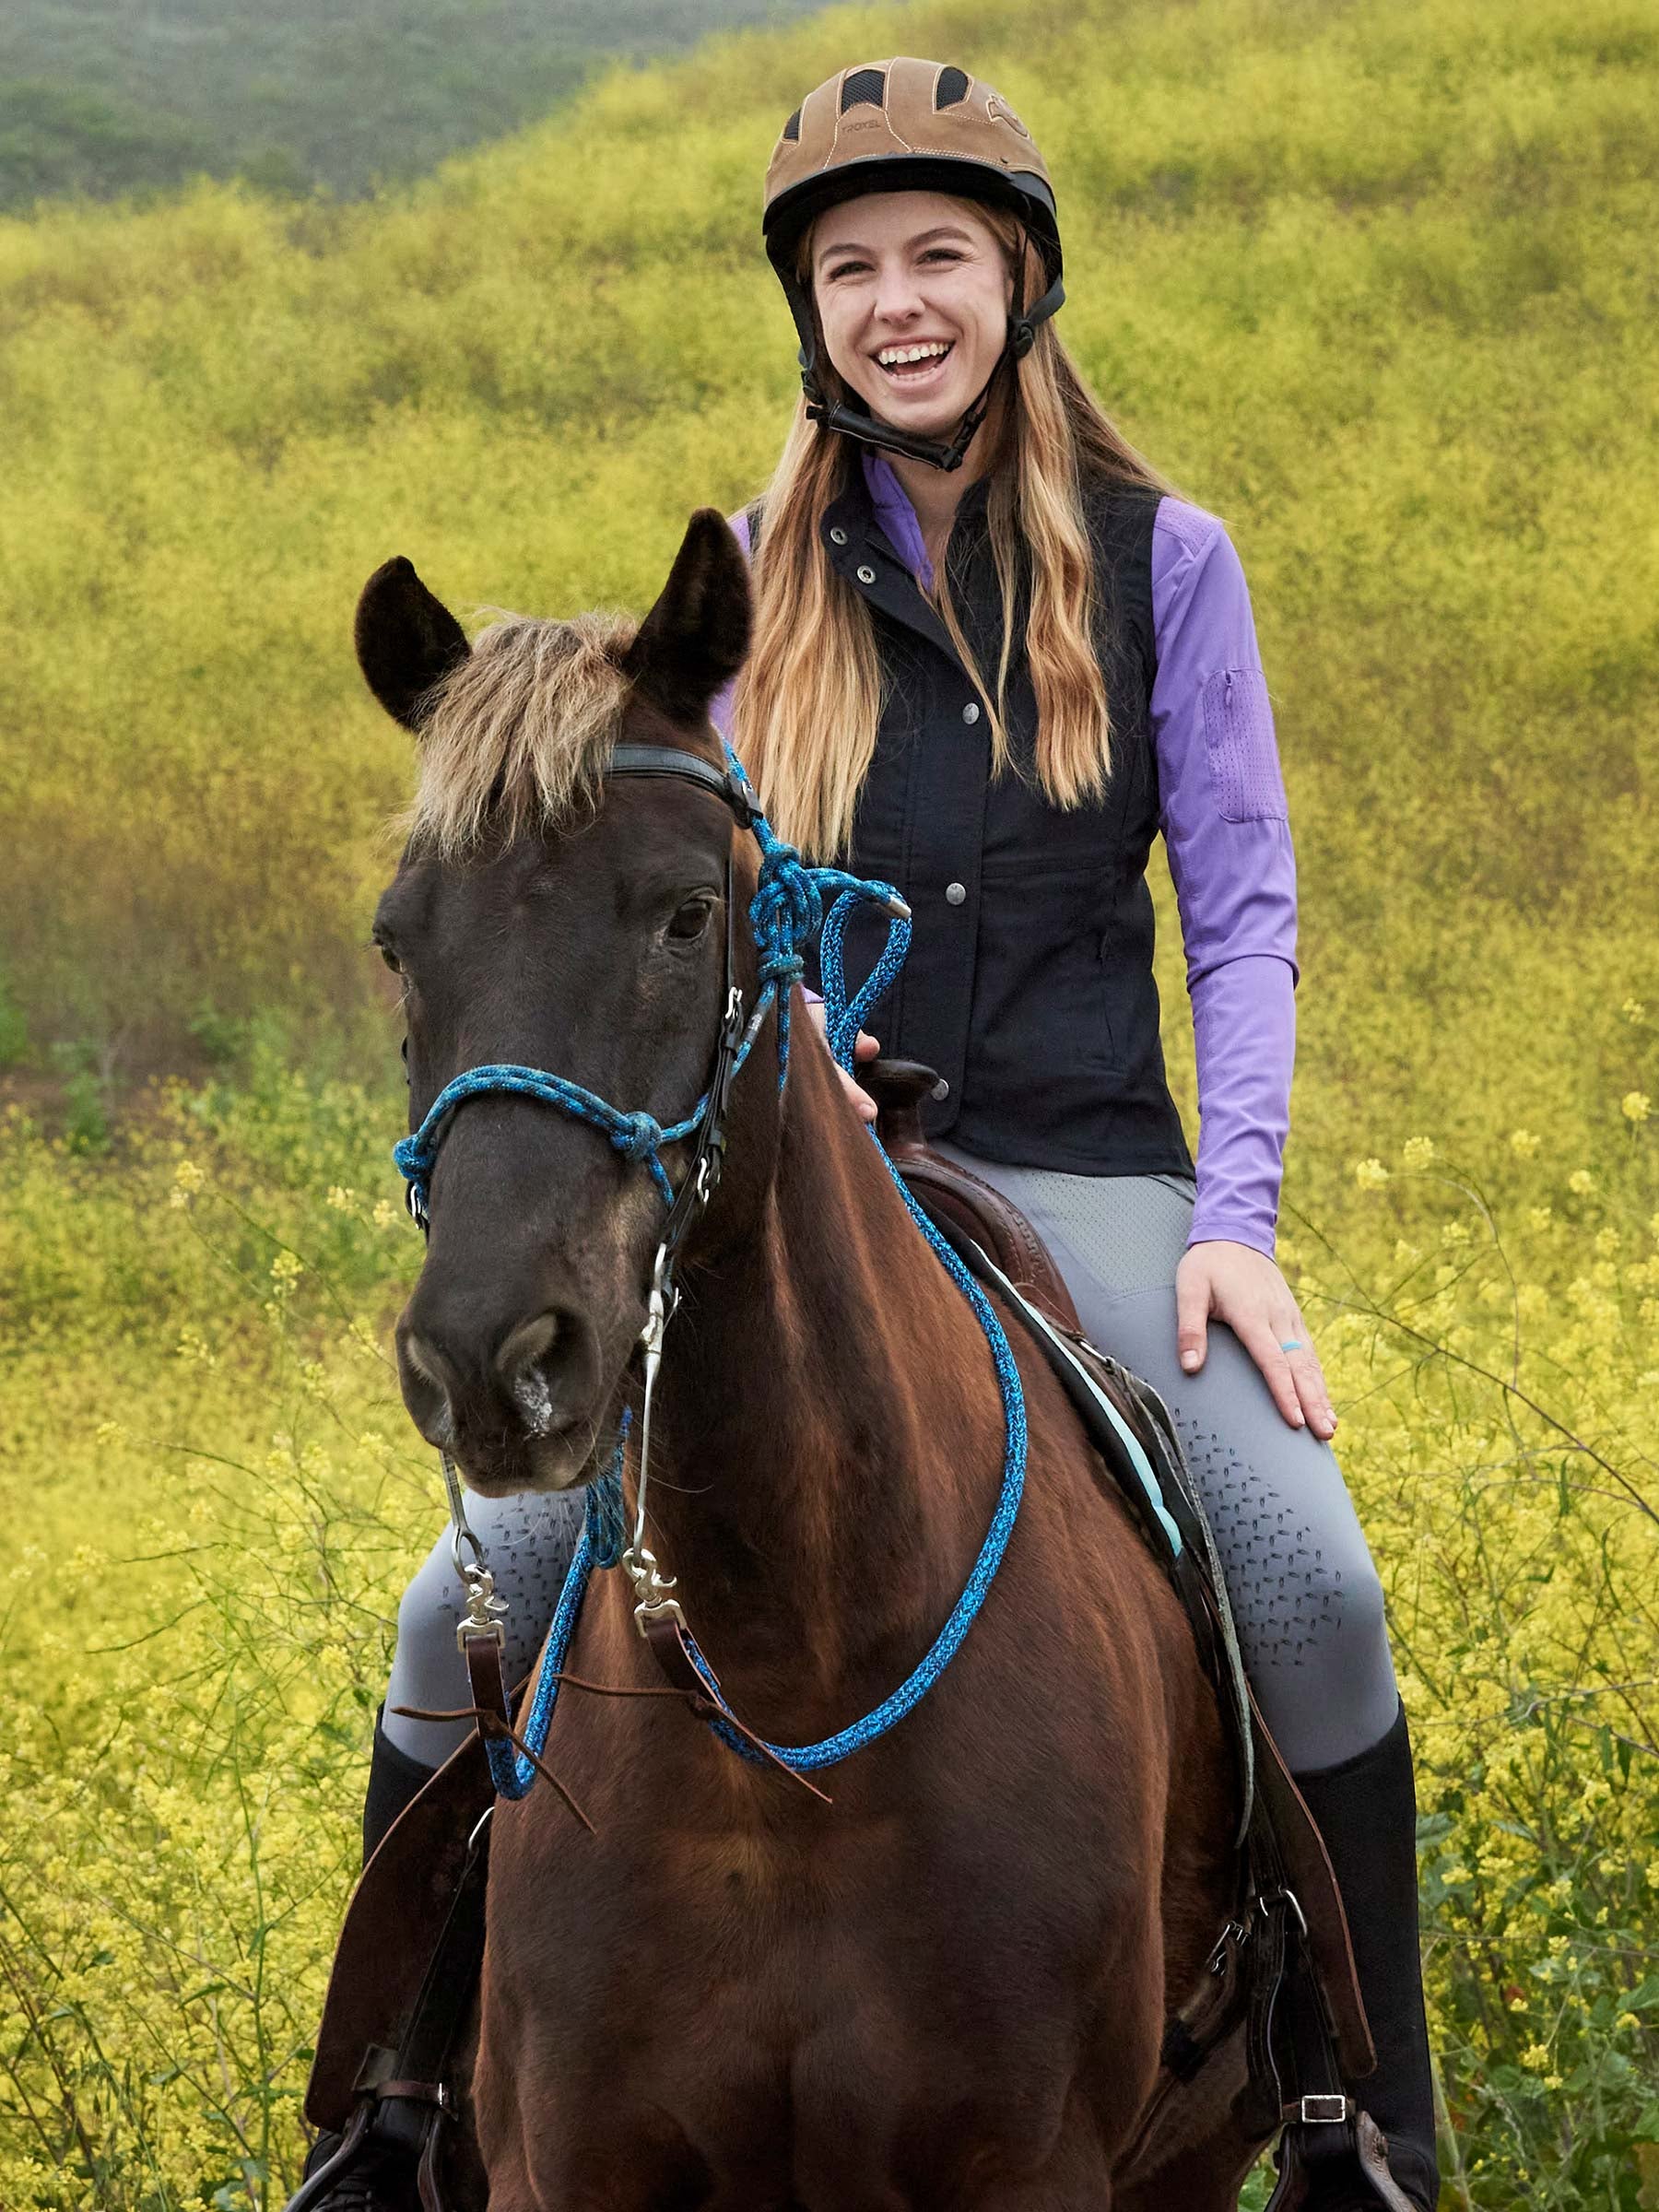
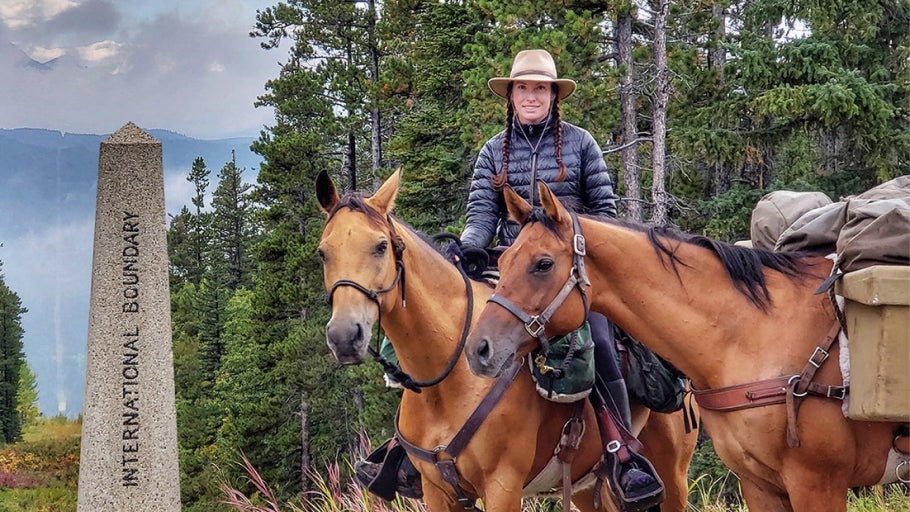
Meet Gillian Larson
Sure, camping with your friends is fun, but you know what's even better? Camping with your horse! However, camping with your horse takes more preparation and equipment than "normal people" camping requires, such as a high line system (also known as a picket line). In this article, we asked sponsored rider Gillian Larson to help us teach you how to safely tie a high line system. Gillian is a backcountry woman and rider to her core, not only embarking on treacherous trails but advocating for proper horsemanship and safe trail riding habits while having fun. She has completed the Pacific Crest Trail multiple times and continues to do "thru-rides" with her trusted equine companions. This has helped her learn and improve her sense for animal behavior, as well as given her general trail and trekking knowledge. Let's learn how to high line thanks to her expertise!
Used to secure horses when a pen isn't available, a high line system is made by connecting two trees or posts with a rope to provide spots to tie up your horse—think heavy-duty clothesline. Tie spots can be knotted into your picket line, or attached using tools that create a safe location for your equine friend to stay secured for a long period of time.
You can individually collect the materials needed to high line, but an easy solution we have readily available for you is the Tough 1 2 Horse No-Knot Picket Line Kit. Tough 1 has gathered everything you need into one handy dandy kit!

Two Tree Saver Straps: Wide, webbed straps that are used to wrap around the tree and secure the rope without damaging the outer layer of the tree.
Nylon Rope: A strong 30' nylon rope used to connect our two trees. This rope will also secure our line ties.
Two No-Knot Swivel Line Ties: Easy-to-use swivel rings that safely and quickly attach to the rope for us to securely tie our horse's lead to.
Zippered Nylon Storage Bag: A convenient bag to keep the the entire kit contained for easy packing and transport.
1. Find two trees that are no less than 8 inches in diameter. This diameter size is a good minimum to ensure your trees are strong enough to hold your horses.
2. Wrap the tree savers around your trees, either in a fork in the tree or around 8 feet high. Feed the small ring through the big ring for a secure fit.
3. Attach one end of your rope to one of the tree savers using a simple slip knot, then secure that knot by using a half hitch knot.
4. Assess the ground and find an appropriate place for your horse to stay. Attach one of the no-knot swivels by feeding a loop of rope through it and going below the swivel. If you have more than one horse on the same line, place your tie spots accordingly.

To make your system as safe as possible, follow the 8-Foot Rule. Have tie spots at least 8 feet from the trees you're using, and make sure tie spots are at least 8 feet away from each other if you have multiple horses on the line. This prevents horses from getting tangled with each other and their surroundings!
5. If you only have one horse on the line, you can use the top portion of the second swivel (not the tie ring on the swivel) to start creating a pulley system. If you don't have an extra swivel, create a non-slip loop in your rope about 3 feet away from your second tree saver.
6. Feed the end of your rope through the smaller tree saver ring, then through the loop you just created (or through the top of your extra swivel). Pass through your tree saver ring one more time. Repeat this if you have an extra long rope, at least until you have a manageable amount of rope left to tie off with. We find that 3 to 5 feet of rope does the job!

7. Pull on your pulley system to make the high line taught, as you do not want any droop or slack. Your horse(s) will gradually pull on the high line, which loosens it over time.
8. Once tight, secure your rope on the line near the tree saver using a quick-release slip knot. Do not secure this end the same way as you did on the first end, since you want to be able to use the quick-release should something go haywire!

9. Tie your horse to the high line with a quick-release knot on the tie ring of the no-knot swivel. Your horse should be able to get its head down to the ground, without so much extra lead rope that they will become tangled.

10. Keep a close eye on your horse(s) while they're on the high line! In case of an emergency, release the high line system by undoing your quick-release knot by the tree saver to release the tension, then take care of your horse.
It is important to note that various kits or how-to guides will provide different directions on how to secure a high line, such as what knots you should use, the use of no-knot swivels, and more. Because of this, it is recommended that you become familiar with common knots for equestrians and rope systems; when the time comes, you will feel better prepared and confident! For a different perspective, here is a general guide showing the steps to setting up a high line system, as well as knots to use if you are without no-knot swivels.

There is so much that goes into a successful backcountry camping trip, or any camping trip for that matter. Not only do you have to plan ahead for personal equipment, clothes, and food, but you also have to account for anything and everything your horse may need! If you're serious about planning a trip and want the ultimate guide, check out the amazing resources Gillian has produced. She covers everything from basics like how to pack your saddlebags to more in-depth topics, such as nutrition and veterinary care!
Of course, some aspects of what you pack are going to be unique to you and your horse. While having the major components dialed in is important, knowing your individual needs will benefit you in the long run. For example, lots of endurance, trail, and backcountry riders love using plush saddle pads; however, your horse and saddle fit might benefit more from a saddle pad with closer contact. Changes like these can help you have the best possible ride! If you're in need of tack inspiration, check out Gillian's must-haves below.
That depends on how long your high line rope is. The general rule of thumb is to have horses tied at least 8 feet apart from each other and 8 feet away from your high line trees. This prevents the horses from getting tangled with each other and prevents harm to the tree's root systems.
The length that you tie your horse will vary depending on the activity. Tying your horse a bit longer while they eat is fine, but make sure they're supervised. If they get a leg over their lead rope, the situation can quickly escalate. When it's time to sleep, tying your horse with enough slack to move their head to the ground freely is ideal. If your horse wants to lay down, they will make it work and aren't as likely to get tangled with a proper tie length.
"Thru-riding" is the completion of an entire backcountry trail route in a single year, like the Pacific Crest Trail. A "long-ride" is an uninterrupted journey of 1,000 miles or more. Therefore, a thru-ride and long-ride can be the same ride and are not mutually exclusive!
Absolutely it does! You will have to tailor your ride to the terrain and weather. Always look at the weather beforehand to prevent riding during heat waves or storms; this might be more dependent on where you are planning to ride, but extreme weather is never a joke when you are in the middle of nowhere with your equines.
Food for the horses can vary depending on how long a ride is and what forage is accessible. Gillian lets her horses graze on their backcountry trips for a majority of their feed, then she supplements them as necessary. For riders, packing light but nutritious food is important. You need all the energy and strength you can get! If your ride is long enough, there are often resting places where hikers and riders can get packages and food delivered.
Whatever is most comfortable for you! That said, lots of equestrians find riding tights to be the most ideal option on thru-rides. Paired with heeled hiking boots and half chaps, you'll be set for both the on-foot and mounted portions of your trek! We invite you to check out Gillian Larson's Backcountry & Camping Gear for extra inspiration for your next big adventure.

No matter if you're trekking for a week or several weeks, proper equipment and safe use of it is so important! As hard as this horseback riding pastime may be, it is extremely rewarding. The sights seen in between a horse's (or mule's) ears can be some of the most breathtaking—not only because of the natural beauty, but the feeling of accomplishment that you and your equine worked so hard for. We hope that Gillian's personal time-tested instructions on setting up a high line will help you on your next adventure. If you need more help, please call our friendly customer service staff at 1-800-620-9145 or email us at info@ridingwarehouse.com for assistance. Happy camping!
Learn more from Gillian by following her on these platforms:
Instagram: @thru_rider
Website: www.gillianlarson.net