Horse Tack
How to Clean Saddle Pads

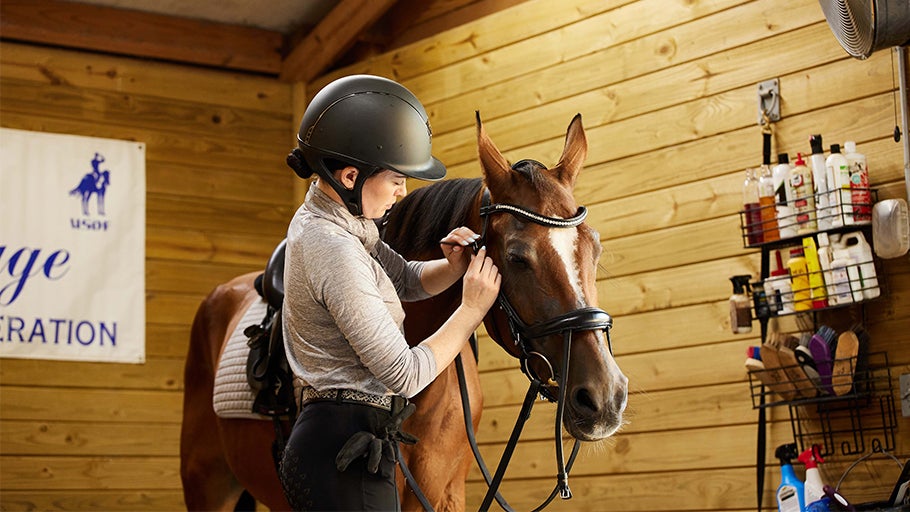
Tack cleaning: it's one of those activities that every equestrian can do! While it's not the most exciting of chores, cleaning your tack is an essential part of making sure it's well-cared for. Plus, cleaning provides an opportunity to take a closer look at your tack to discover any wear and tear. It's certainly better to find any rips or weaknesses in your equipment on the ground than mid-ride! Your horse's tack is an investment, and with proper maintenance, it can last for years to come.
Our experienced team of equestrians know a thing or two about cleaning tack. We've definitely spent our fair share of time sudsing up and scrubbing down our own bridles, saddles, and more! In this article, we will discuss how to clean not only your leather tack but also equipment made of synthetic materials—and even other tack accessories like bits and stirrups. Read on for our tack cleaning routine and some of our favorite tips and tricks.
What You Need to Clean in 5 Easy Steps!
Before you get to actually cleaning, it is important to make sure you have all of the necessary tack cleaning and leather care supplies on hand to make the process go smoothly. There are many different tools that are helpful to have when undertaking a thorough tack cleaning. Leather cleaners and conditioners are essential for getting leather clean and looking spiffy; these products will help maintain the leather's longevity as well.
Oils or dressings may be used on your leather tack for a finishing touch and to further enhance its look and quality. You'll also want to make sure you have other handy supplies at the ready, such as trusty cloths or sponges, a good cleaning brush to get into tricky crevices and spaces, and buckets.
The steps we address below are suitable for any leather tack that you use during your rides. This includes not only bridles and saddles, but stirrup leathers, reins, martingales, breastplates, and more. Any leather equipment that you use on your equine should be regularly cleaned using these methods. Even leather halters may be cleaned using the same routine!

The very first step as you embark on your cleaning journey is to take everything apart. This includes undoing all the buckles on bridles, removing stirrup leathers from stirrup bars, detaching your cinch or girth, and more. Once all removable pieces of your tack and equipment have been separated, we recommend wiping everything down with a lightly dampened cloth or sponge. When we say lightly dampened, we mean lightly! Unless it's synthetic tack, getting your leather tack too wet can damage the leather and dry it out.
Now it's time to add a small amount of your favorite leather cleaner to a (lightly!) dampened sponge or cloth to start the nitty-gritty part of the cleaning process. Before you start buffing away, we highly suggest following the manufacturer's specific instructions on the cleaner that you choose to work with for the best results. Some products may work better with a simple wiping rather than scrubbing! If you encounter any hard-to-reach places or tough-to-remove dirt and grime, one of our favorite tricks is to use an old toothbrush to gently scrub it away. Finally, wipe away any remaining soap with your handy damp cloth or sponge.
Once you are sure there is no dirt remaining and your tack is clean and dry, it's time to give the leather a good conditioning. Use a clean cloth or sponge to apply only a small amount of a quality leather conditioner to the tack. A little goes a long way! Again, be sure to follow the manufacturer's instructions for the specific product you decide to use, as some conditioners may need to be applied differently. Once the conditioner has been applied to the leather, rub it down with a clean cloth to remove any extra product or residue. By this point, you should notice a nice looking shine on your clean tack!
If you choose to oil your tack, you'll want to make sure the leather is as clean as possible before you begin. If any pieces of dirt or debris remain, they could potentially become trapped in the oil, making them hard to remove. When applying leather oil, put a thin layer on the leather using a clean cloth or sponge. Be sure not to over apply the oil, as it can cause the leather to stretch or even build up and come off on your skin or clothing. In fact, we recommend oiling tack only one to two times a year, or when restoring old or neglected leather. There is such a thing as over-oiling!
Once you have completed your tack cleaning project and everything is completely dry—whether you stopped at a simple cleaning, conditioning, or oiling—it is time to reassemble all the pieces that were taken apart! This means reattaching stirrups, putting headgear back together, and more. If you have any questions regarding putting together an English bridle, be sure to check out our helpful article on How to Assemble an English Bridle!

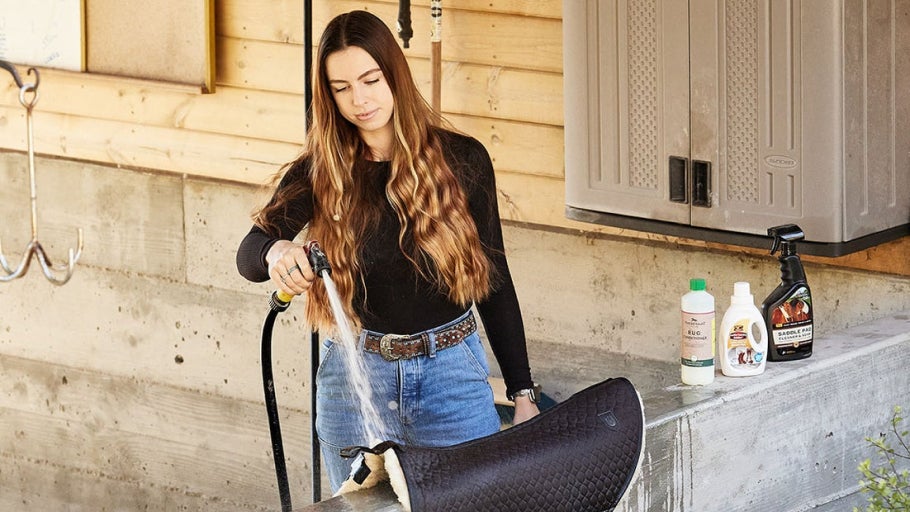
As you would with any of your leather tack, the first step to clean synthetic tack is taking any removable pieces apart and wiping them down with a lightly dampened cloth. It's still important to make sure any layers of dirt and dust are removed before cleaning starts! You'll want to check the cleaning instructions from the tack's manufacturer first, but synthetic tack can typically be cleaned with a mixture of soap and warm water, or a cleaner specifically created for synthetic materials - such as the Wintec Synthetic Saddle and Tack Cleaner. After cleaning with soap, make sure to rinse everything off well with fresh water, then let it air dry before reassembling.
After removing your stirrups, we recommend letting them sit in a bucket full of warm water (with soap should you choose) while you clean the rest of your tack to allow ample time to remove any buildup or grime that may have accumulated. Once your stirrups have had their soak, scrub them clean with a brush and rinse all the soap off for a squeaky-clean stirrup! Be sure to let them fully dry before reattaching to your stirrup leathers or fenders. For stirrups that are covered in leather, we recommend cleaning them the same way as you would another piece of leather tack.
Before cleaning, remove your bit from the bridle or headstall and detach any connected reins. Lightly dirty bits may be wiped down with a clean sponge and water. For a deeper clean, a variety of bit wipes and cleaners are available. For especially dirty bits, one of our favorite tricks is to boil water and "cook" the bit for a super deep clean that will remove built-up grime without adding any chemicals or flavors. We also encourage checking all crevices, corners, and other smaller areas to ensure a thorough cleaning. Finally, once your bit has been cleaned, dry it off with a clean cloth before you reattach it to your bridle or headstall.

Keeping your tack protected after every ride will go a long way in preserving its quality and lifespan. We highly recommend at least wiping down tack with a cloth or sponge after every ride to remove any dirt or debris that may have accumulated. Doing this will also help make deep cleaning that much easier!
Bridle storage bags and saddle bags and covers are also extremely helpful in keeping your tack protected. They'll keep any dust from accumulating and prevent any other potential damage that may occur. That being said, storing your tack in a clean, dry, and organized environment will do a lot to keep it protected and in the best shape possible.
| DO wipe tack down after each ride to remove dirt or debris. | DON'T use too much water when wiping down tack or applying leather cleaners or conditioners. |
| DO use bridle storage bags and saddle bags and covers to keep tack protected. | DON'T leave tack out in direct sunlight to dry. |
| DO store tack in a clean, dry, and organized environment. | DON'T over-oil your leather. This can end up causing unwanted stretching! |
| DO inspect tack as you clean to find any possible damage or weak points. | DON'T use alcohol or baby wipes. These items may damage your tack. |
| DO reference the instructions on your cleaners, conditioners, and oils/dressings to ensure proper usage. | DON'T use cooking oils such as vegetable oil or corn oil to oil your tack. Use only products intended for tack! |
In a perfect world, tack should be cleaned after each and every ride. While that realistically may not always be feasible, leather tack should be at least wiped down after each ride, then cleaned with saddle soap about once a week. Conditioning does not need to happen quite as often. We recommend conditioning your leather tack once or twice a month. As for oiling, this process does not need to be done nearly as frequently; in fact, we recommend oiling tack once or twice each year.
Be sure to keep your tack up and on a stable, clean surface as you are cleaning, conditioning, and oiling. Saddle racks and bridle hangers both come in handy while cleaning, as well as a clean table or other flat surface to lay all of your tack pieces out on when disassembling. We strongly recommend keeping tack out of the sun while cleaning to prevent any UV damage.
Yes, western saddles require cleaning too! As with any of your leather tack pieces, follow the five steps outlined above to clean your saddle. Doing this will not only help keep your saddle clean and ready to use for years to come, but it is a great opportunity to keep an eye out for any wear and tear that may become a safety concern.
When tackling the project of cleaning old, dry, or neglected tack, you should be prepared to put in a bit more elbow grease than you normally would when sprucing up regularly maintained leather.
First, you'll want to remove any built-up dirt and debris then apply your leather soap. Since this leather needs some extra TLC, you'll likely need to spend more time cleaning than normal. Once the tack has been thoroughly cleaned, it's time to condition and oil. Be sure to apply even layers of conditioner (and oil as needed) to the leather to help prevent any cracking or breaking. Depending on how dry the leather is, you may need to do multiple applications of conditioner or oil.
If you're trying to restore an old saddle or other piece of neglected tack, it is important to take note of the overall condition of it and keep an eye out for any extremely worn-out parts or broken pieces. Safety always comes first, and if the leather has cracked or something has broken, it is best practice to replace the piece or item entirely.
Fortunately, tack that has grown mold from being exposed to excessive moisture can be cleaned easily! Simply use a wet cloth to wipe the mold from your tack and then thoroughly clean it with a glycerin-based leather cleaner or a gentle antibacterial dish soap. Once this has been done, condition the tack as you normally would. We highly recommend cleaning moldy tack outdoors to prevent any inhalation of spores. It is also a good practice to either bleach the rag and sponges used or throw them away after they have been used, since they also may now contain mold.

Though cleaning your tack may seem like a daunting task at first, it is a crucial part of keeping your equipment safe and ready to use for future rides to come. With a regular cleaning schedule, this process will become less time consuming, and it may even develop into a calming post-ride ritual as you wind down from a day at the barn!
We hope that this article has provided you with everything you need to know about cleaning your tack, and that you've even picked up some helpful tricks along the way. Should you have any further questions about tack cleaning methods we have covered or what products to use, our friendly customer service team is always happy to assist. Feel free to reach out to us via email at info@ridingwarehouse.com or by phone at 1-800-620-9145 for assistance. We wish you happy riding and happy cleaning!