Equine Supplements & Nutrition
Hoof Supplement Guide

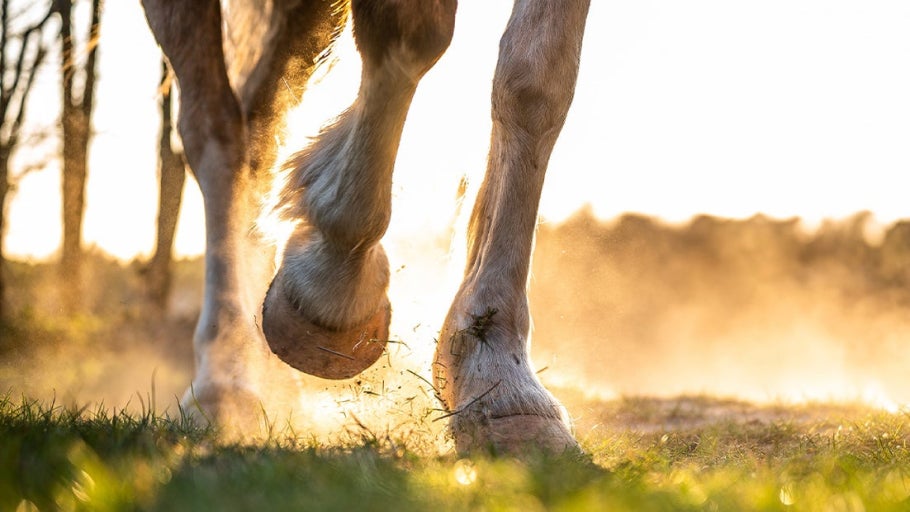
Applying a wrap or bandage to a horse's hoof is an important skill for stable managers and horse owners, as it can help treat many equine hoof problems. Always consult with your vet or farrier before treating the hoof, because they may prescribe a particular protocol.
With this guide, you'll learn how to easily wrap your horse's hoof for abscesses or stone bruises, or even to offer padding or protection after a hard workout.

These hoof care supplies are helpful for soaking and wrapping a horse's hoof:

The first step is to soak the foot in water and Epsom salt to help draw out any infection or heat from the hoof. Simply use a small bucket or pan, a couple of cups of Epsom salt, and warm water (if possible). If warm water isn't available, cold water will work. Try to soak the foot for twenty to thirty minutes. If your horse won't stand still for that long, we offer a variety of hoof-soaking boots, which can make the process much easier on both horse and human.

While your horse's foot is soaking, you can use the time to make your duct tape boot. Find a flat surface, such as a table or wall, and tear or cut 7" to 10" strips of tape off of the roll. Adjust the length of these strips according to the size of your horse's hoof, as they will end up covering the bottom of the foot. Place the strips vertically and somewhat overlapping. Once you make one vertical layer, you are going to make another layer going horizontally. This makes a kind of "weave" pattern. Trim the edges to form a circular shape.
If you don't want to make a duct tape boot, we do offer the EquiFit Pack-N-Stick Hoof Packing Tape. However, this isn't as durable as making your own boot, especially if you need the wrap to last over 24 hours.

We invite you to watch our video tutorial below and follow along here!
How long to wrap a hoof abscess, hoof bruise, or other condition depends on the severity of the situation and your horse's individual recovery rate. As a general guide, we suggest leaving your hoof boot on for 24 to 48 hours at a time, then changing it out for a clean one as needed to allow airflow to your horse's hoof and minimize bacteria growth. In any case, you should make sure your treatment aligns with the protocol suggested by your vet or farrier.
For an average sized horse, a size 3 or size 4 diaper should be sufficient to create your hoof boot. Of course, if you have a smaller or larger horse, those sizes may need to be adjusted. For example, for a draft horse, you may need to use a size 5 diaper to make the hoof boot.
While soaking and bandaging our horse's hooves is never something we want to have to do (we don't want to see our equine companions in pain), it is an important skill for horse owners and caretakers to have. However, having the necessary supplies on hand when you need them can make the process less stressful. We hope that this article has outlined everything you wanted to know about soaking and bandaging your horse's hooves.
As always, if you have any questions about anything you have read, our customer service team is happy to help and may be reached at info@ridingwarehouse.com or at 1-800-620-9145. We always strongly recommend following the advice of your vet and farrier when it comes to the health and well-being of your horse. Ride on!